Violin
Installation
CVX, ACVX microphone sets, X48XC:
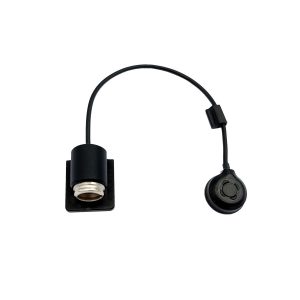
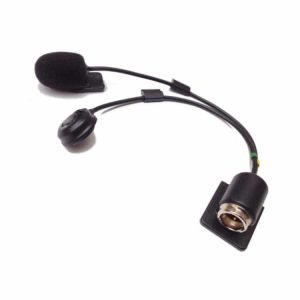
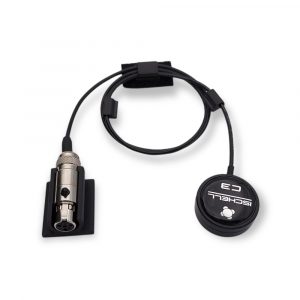
- Plan your cable route and system placement.
- Clean the gluing spots. The location of the microphones must be perfectly clean.
- Then attach the mini XLR connector to the side, using unused adhesive putty or the double-sided or Velcro scratch provided. On fragile violins, prefer adhesive putty, but if the varnish allows it, use double-sided or Velcro instead, it's more stable than putty.
- Place the contact microphone in the desired location, if there is a cable tie, fix it 3 cm from the microphone with a little adhesive putty then do your first tests. Adjust mic placement if necessary several times. See below.
Positioning of the contact microphone
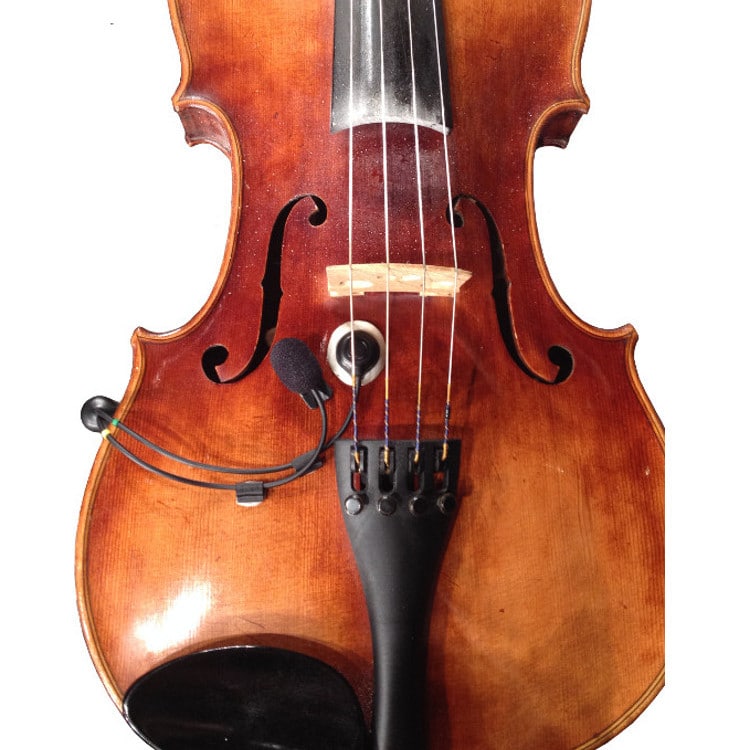
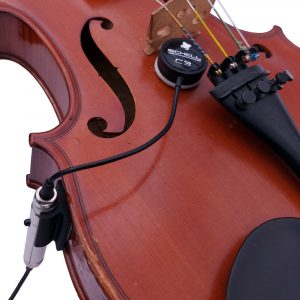
- As a reminder, it is important to properly prepare your contact microphone for installation, do not hesitate to reread the advice below depending on your model:
- Original C1 contact microphone preparation page
- C2 and C3 contact microphones preparation page
- By default, the contact microphone is placed between the bridge and the tailpiece, with the white putty, as in the photo, on the bass side. The center of the microphone is more precisely on the edge of the soundbar on the inside, (Reinforcement bar passing under the bridge foot on the bass side) the center of the microphone is therefore roughly aligned with the inside edge of the bridge foot .
- With the C3, by default start your tests with half dose of putty provided (compressed sound).
- With the C1, put all the adhesive putty, place the microphone in the desired location and press hard enough on the microphone to compress the sound.
- If you find the sound lacks mids/trebles, try moving the mic 2-5mm towards the center.
- If the strings have unequal power between them or if the sound is a little aggressive, compress the sound further by removing adhesive putty on the C3 (1,5 grams mini), or by re-pressing the microphone if you have the C1, and vice versa if necessary.
- Refer to the preparation of your contact microphone to find out how to compress the sound.
- If the sound is too bright, try resting the mic in the same spot with the gray putty for a duller sound in the highs and rounder in the bass.
- Your system usually comes with the low cut set to 360Hz. If after determining the best placement for the balance of the power of the strings, you find that the sound lacks bass, then position the low cut on 180Hz. If you find that the sound still lacks depth in the bass, put it on Flat, but it can amplify sounds in the sub-bass which can be distracting.
Positioning of the aerial microphone
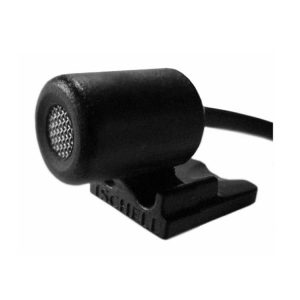
- The aerial microphone can be placed next to the contact microphone, in the center under the strings, directed towards the bridge for a very present bow sound.
- For a rounder sound, direct it towards the center of the bass ear.
- Fix it with a little adhesive putty provided.
Stage use
Use of the Contact and Contact + Aerial microphone:
- The contact microphone allows high front/return levels and easy use on an amp.
- Allows the use of effect pedals, loopers with loops isolated from external sounds...
- Contact microphone + Aerial on noisy stages, put only the contact microphone in return and on the front panel 60% contact and 40% aerial.
- Contact microphone + Aerial on acoustic stages, contact microphone in return and complement with the aerial microphone if possible. On the facade, 60% aerial and 40% contact
Common equalizations with the aerial microphone:
- Dip around 400/500Hz (recurring)
- Reduce the bass if necessary below 180Hz
- On oversized systems in subs, put in more a low cut
- On some systems, reduce the treble slightly.

