Reed
Installation
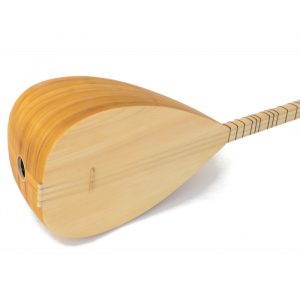 Model: X48C
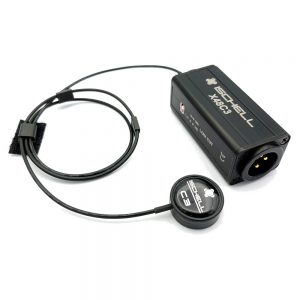
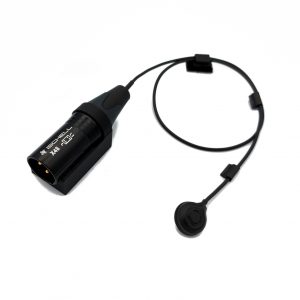
- Plan your cable path and the placement of the system, the module is generally fixed on the flat part near the tailpiece.
- Clean the pasting places. The location for the microphone should be clean, dust-free and smooth.
- The supplied double-sided transparent can be used to attach the module to the instrument, it is quite powerful but can be used on a recent varnish in good condition without damaging it. Experiment. Rotate the element to peel it off. Cut it with good scissors, avoiding as much as possible to touch the sticky part. Replace it after each test. Suitable for stay-in-place installation.
- Velcro hook and loop fastener can be used for non-permanent installation. Do not use on varnishes that are too fragile
- Place the contact microphone in the desired location with the white putty, a 3 cm cable tie fixed with a little putty adhesive then make your first tests. Adjust the mic placement if necessary several times. See below.
- Secure and retract the excess cable by making loops with the 3 cable ties.
Microphone kits: CPJ - X48XC - X48JC
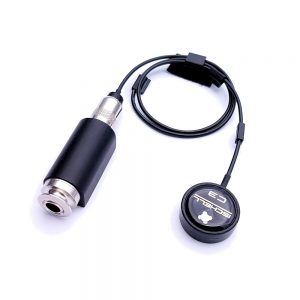
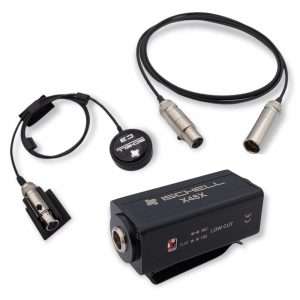
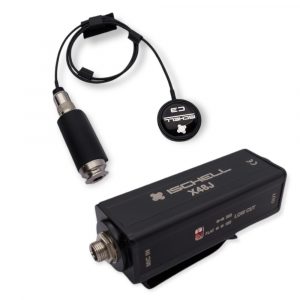
- Plan your cable path and the placement of the system, the connector is generally fixed on the flat part near the tailpiece.
- Clean the pasting places. The location of the contact microphone must be clean, dust-free and smooth.
- The double-sided transparent provided can be used to attach the connector to the instrument, it is quite powerful but can be used on a recent varnish in good condition without damaging it. Experiment. Rotate the element to peel it off. Cut it with good scissors, avoiding as much as possible to touch the sticky part. Replace it after each test. Suitable for stay-in-place installation.
- Velcro hook and loop fastener can be used for non-permanent installation. Do not use on varnishes that are too fragile
- Retract the excess cable using the cable ties provided. You can make loops with the 3 cable ties.
- Place the contact microphone in the desired location with the white putty, a cable tie at 3 cm with a little putty adhesive then make your first tests. Adjust the mic placement if necessary several times. See below.
System installed with drilling: inside J48C – CJ microphone kit
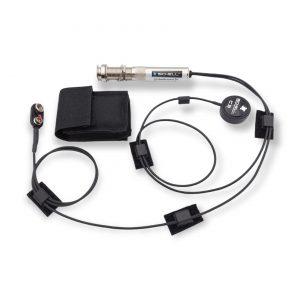
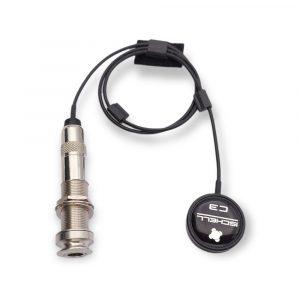
- Plan your cable tray and system placement, Jack is usually attached to the flat part near the tailpiece.
- Pierce the instrument. Tips for drilling and laying the Jack
- Clean the pasting places. The location of the contact microphone must be clean, dust-free and smooth.
- If necessary, experiment with the positioning of the microphone (see below) before attaching the Jack to be able to easily adjust the low cut if necessary (model inside J48C)
- Secure the Jack
- Retract the excess cable inside using the cable ties provided.
Positioning of the contact microphone
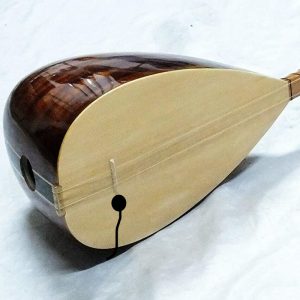
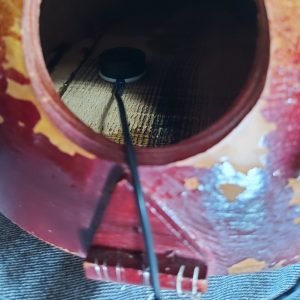
- As a reminder, it is important to properly prepare your contact microphone for installation, do not hesitate to read or re-read the advice below depending on your model:
- Original C1 contact microphone preparation page
- C2 and C3 contact microphones preparation page
- If access is possible, the microphone can be placed inside on the soundboard, if not, it can be placed outside in the same places.
- Position the microphone on the soundboard, just below the bridge on the treble side.
- Make your first attempts. If the result is not satisfactory, move a little forward or backward in this area and also down to find the best position. Closer to the bridge for more dynamics and further for more roundness.
- Generally the tonal balance is good, but if you notice a glaring lack of bass imbalance, then move the mic to the bass side.
- Your system is delivered to you with the low cut positioned on 360Hz. If after determining the best placement for the string power balance, you find the sound lacks bass, then set the low cut to 180Hz. If you find that the sound still lacks depth in the bass, set it to Flat.
- If the sound is too bright, try resting the mic in the same spot with the gray putty for a duller sound in the highs and rounder in the bass.
- If the notes or strings are still more or less strong, you can compress the sound which can correct the problems of note power, strings but also overtones too present. Refer to the preparation of your contact microphone to learn how to compress the sound.

