Preparing the contact microphone Ischell C2 and C3
Choice of adhesive putty for C2 and C3:
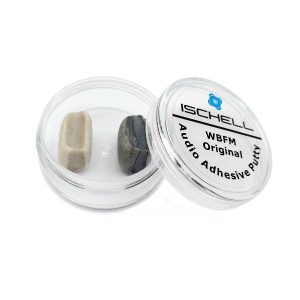
- Your system is delivered to you with 2 doses of adhesive putty, one white and one gray, they don't have the same sound.
- The white putty has a linear sound and rather bright in the highs, this is the one you should use by default for your testing.
- The gray putty sounds rounder in the bass and duller in the treble. When the sound remains too bright with the white putty, try with the gray putty in the same spot.
Preparation of contact microphones C2 and C3
- The dose of putty used to place the microphone influences the compression of the sound. The dose provided is 3,5 grams. With the full dose of putty, the sound is not compressed, with half, or 1,5 grams, the sound is very compressed.
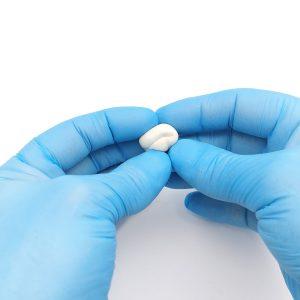
- By default, to start your tests, remove a third of the dose to have approximately 2,4 grams which corresponds to an average compression. Knead and stretch the putty for at least 30 seconds to warm it up and make it stickier before use.
- If it is less than 18 ° in your room, you can possibly warm it slightly by bringing it near a source of gentle heat.
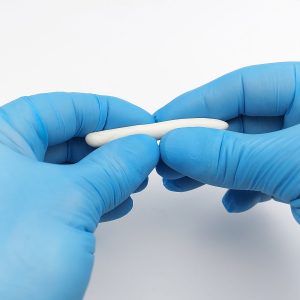
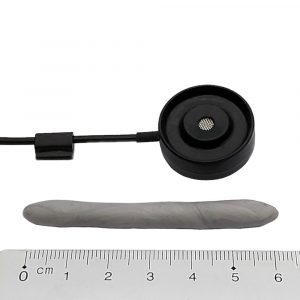
- Then make a regular roll 6 cm long.
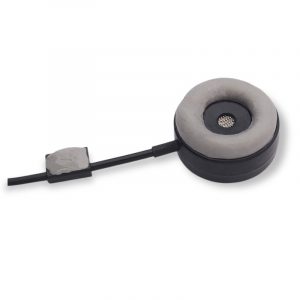
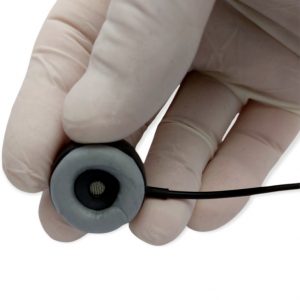
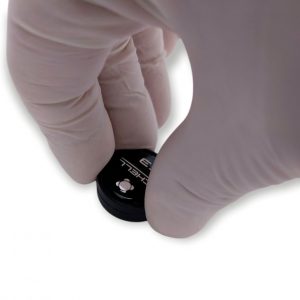
- Then place it around the edge of the microphone provided for this purpose, taking care to connect the two ends of the roll well by covering them, then pull out the central part to form a bowl. Take inspiration from the photos below for the preparation of the putty and its placement around the microphone.
- The place chosen for installation must be clean and dry, degreased if necessary.
- Place the microphone then press on it by making a very small movement from left to right to make it adhere well and ensure the seal.
- Then place a cable clip 3/4 cm with some remaining putty to avoid picking up resonances through the cable.
- If during the first tests a high-pitched feedback is heard, it is because the seal has not been respected, press the microphone again.
- About sound compression: it allows you to balance the power of the strings or notes between them, it also helps to attenuate any annoying harmonics and to reinforce bass and precision. However, if it is too compressed, the sound can become harsh in the attacks, closed, with a lack of resonance, expression or presence in the treble. With a sound that is not compressed enough, there can be an imbalance between notes or strings, redundant or annoying frequencies, a sound that is too full with a lack of precision. Adjust the dose according to the result obtained.
- If the microphone does not seem to be in the right place, gently remove it then reform the putty all around by giving it height, you can then try again positioning without having to redo the process of preparing the microphone.
- If the sound is too bright, use the gray adhesive putty which has a duller sound in the highs and rounder in the lows.
- Important: Only use the audio adhesive putty ISCHELL, any other putty will distort the sound.
